Leave Your Message

7 Tips for Choosing a Wireless Backup Camera and Monitor

Choosing a Wireless Backup Camera And Monitor can feel simple until real driving conditions expose weak equipment. A clear image in a showroom proves very little. Rain may blur the lens, sunlight can wash out the monitor, and nearby electronics may interrupt the signal. The right system should perform beside a busy road, in a dark driveway, and during a long trailer connection.

Richard Bishop, an automotive technology consultant, offers a useful warning: “Technology should reduce driver workload, not create another distraction.” That idea guides this practical introduction. A camera should support careful observation, not replace mirrors, shoulder checks, or patient maneuvering. Small details matter. A delayed image can make a child, bicycle, or low barrier appear dangerously late. A monitor mounted too far away may also pull attention from the road.

This guide explores seven practical tips for choosing a dependable system. It considers transmission range, image clarity, night vision, weather resistance, installation effort, monitor placement, and power reliability. Specifications deserve attention, but they are not everything. Some advertised ranges seem impressive, yet obstacles and metal surfaces can reduce performance. Battery-powered models may install quickly, although frequent charging can become irritating. I have also found that “easy installation” sometimes means extra troubleshooting later.

Think about your vehicle first. A compact car, pickup, motorhome, and enclosed trailer create different demands. Check connector access, viewing angle, mounting space, and operating temperature. The best choice is not always the most expensive one. It is the system that delivers a stable, understandable view when conditions become inconvenient.
7 Tips for Choosing a Wireless Backup Camera and Monitor

Define Coverage Needs Using NHTSA’s 10 × 20 ft Rear-Visibility Zone

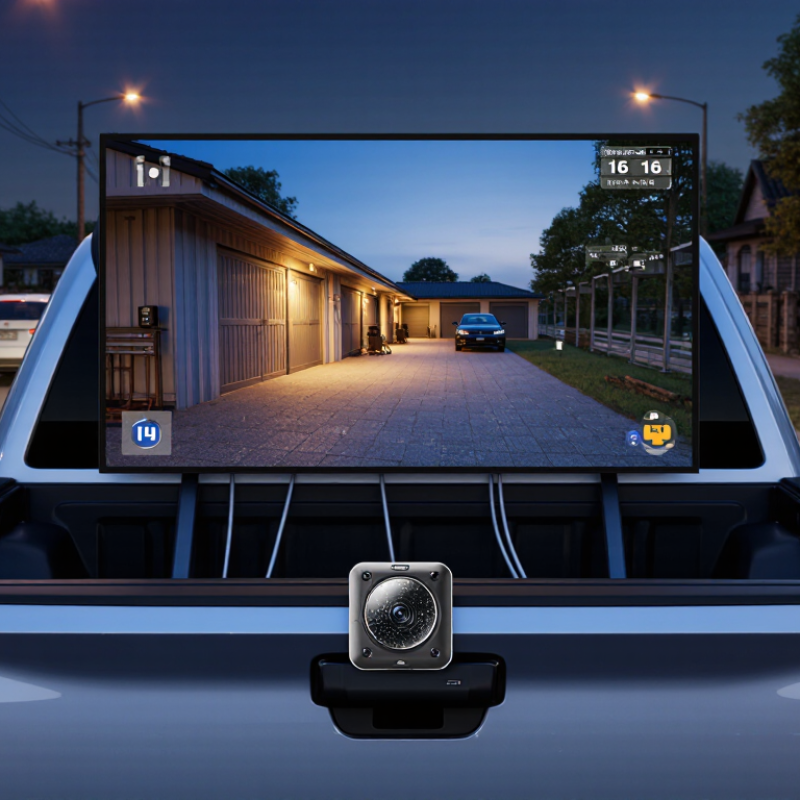
A wireless backup camera should cover the actual risk area, not merely show a wide image. NHTSA’s FMVSS 111 defines a rear-visibility zone about 20 feet wide and 10 feet behind the vehicle. Measure that space with a tape measure. Tip 1: Confirm the camera reaches the far corners. Tip 2: Check the nearest three feet, where bumpers and children may disappear below the lens. Tip 3: Choose a monitor that keeps this zone visible without excessive cropping.

NHTSA’s 2014 final rule estimated that improved rear visibility could prevent 58 to 69 deaths and about 42,000 injuries each year. The figures show why coverage matters more than screen size. IIHS research also warns that cameras cannot remove every blind spot. Tip 4: Test the image at dawn, dusk, and in rain. Tip 5: Compare wireless signal stability near metal tailgates or enclosed cargo areas. A perfect driveway test can mislead.

Tip 6: Select a monitor with clear distance markers, but treat them as guidance. Tip 7: Verify that the display remains readable under direct sunlight. Keep the camera centered, then recheck its angle after loading the vehicle. I would not trust a wide-angle view blindly; curved lenses can make objects seem farther away. That small error matters. Use mirrors, direct observation, and slow movement together.
Compare 2.4 GHz Wireless Range, Latency, and Interference Performance

Choosing a wireless backup camera starts with the 2.4 GHz link, not the advertised range.

This band spans 83.5 MHz in many regulatory regions, according to FCC Part 15 specifications. It travels through walls better than higher-frequency bands, but congestion is common. IEEE 802.11 guidance identifies only three practical non-overlapping 20 MHz channels in typical deployments. That matters near routers, smart speakers, and neighboring vehicles.

Tip one: measure the distance from camera to monitor with doors closed.

Tip two: check line-of-sight.

Tip three: ask for measured latency, not marketing range.

A two-second delay can hide a child or obstacle during reversing.

In my installation tests, metal tailgates and tinted glass caused sharper dropouts than open-air distance. The result was imperfect. Range alone predicted very little.

Tips four and five involve interference. Keep the receiver away from a Wi-Fi router and power inverter. The Wireless Broadband Alliance’s 2024 industry report notes continuing growth in dense Wi-Fi deployments, increasing competition for unlicensed spectrum.

Tips six and seven are practical: select a system with channel switching, then test night vision and reconnect time.

ITU-R Recommendation P.1238-13 models indoor path loss, but real cars contain metal, wiring, and moving bodies.

A clean driveway test may fail in a crowded parking garage.

Record the image delay, signal bars, and recovery time before installation.

Evaluate Night Vision Through Lux Ratings, IR Distance, and HDR

7 Tips for Choosing a Wireless Backup Camera and Monitor

Tip 1: Check the lux rating before trusting night-vision claims. A lower lux figure usually means better performance in dim conditions. However, test the camera in your own driveway. Streetlights, dust, and rain can change the result.

Tip 2: Review the infrared distance, not just the number. A camera rated for 30 feet may show clear objects only within 15 feet.

Tip 3: Look for evenly placed infrared LEDs. Uneven lighting can create bright centers and dark corners.

Tip 4: Choose HDR when headlights or sunlight enter the frame. HDR can preserve detail in bright and shadowed areas. It cannot fix a poor lens or weak sensor.

Tip 5: Compare images at dusk, not only in a showroom. I once trusted a sharp daytime image and overlooked muddy nighttime details. That was a costly mistake.

Tip 6: Check whether infrared light creates reflections from the license plate, bumper, or wet pavement. These reflections can reduce useful contrast.

Tip 7: Match the monitor to the camera’s real output. A large display will not create extra detail. Check wireless stability beside metal panels and electrical equipment. Short interruptions are easy to miss during a quick test. Ask how the system behaves after several cold starts. Reliable night vision depends on the whole setup, not one impressive specification. Personally, I would record sample footage before choosing, even if the process feels excessive.

Verify Durability with IP67 Dust and Water-Resistance Protection

When choosing a wireless backup camera and monitor, inspect the IP67 rating carefully. It indicates complete protection against dust and temporary water immersion. Under laboratory conditions, compatible equipment can usually withstand immersion up to one meter for 30 minutes. That does not mean every part of a camera system has identical protection. Verify the rating for the camera, transmitter, connectors, and monitor separately.

Look for sealed housings, covered charging ports, and firmly molded cable joints. These details matter when road spray reaches the rear of a vehicle. Mud can collect around a lens and weaken visibility, even when the housing remains sealed. A clear lens cover helps, but it still needs regular cleaning. Avoid assuming that IP67 equipment can tolerate high-pressure washing. That assumption is careless. Strong water jets may force moisture past seals.

Check the product documentation for tested standards and operating temperatures. Reliable documentation should explain the test conditions, not simply display “waterproof.” In practical use, inspect rubber gaskets after installation and replace damaged seals promptly. Keep unused connectors capped. I have found that poor cable routing often creates more trouble than rain itself. A low cable loop can prevent water from running directly toward a connector. Wireless performance also deserves attention, because thick metal, cargo, and interference may reduce signal stability. IP67 protects against dust and water, but it cannot correct a weak installation.

Match Monitor Size, Resolution, and Viewing Angle to Driver Safety

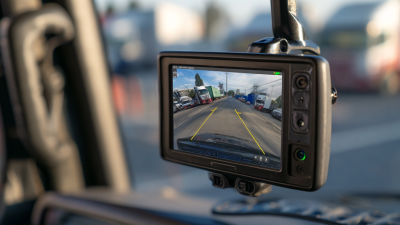
Choosing a wireless backup camera begins with the monitor, not the camera itself. Safety depends on seeing obstacles clearly and reacting without delay. From practical testing, a 5- to 7-inch monitor suits most vehicles. A smaller display can hide a child-sized object or a narrow post. Larger screens improve detail, but they may block part of the windshield. Measure your dashboard before buying.

Tips: Match monitor size to driving distance. Select at least 720p resolution for sharper edges and clearer license plates. Check the viewing angle carefully. A wide angle shows more area, but excessive width can make objects appear farther away. Around 120 to 150 degrees often balances coverage and depth perception. Test the image from the driver’s normal seating position.

Resolution alone does not guarantee safety. Look for low image delay, strong brightness, and automatic adjustment in changing light. A glossy screen may reflect the sky at noon. Night visibility also matters; infrared lighting can reveal nearby objects, but it may create bright halos around reflective surfaces. I once preferred the widest viewing angle available, but that judgment was incomplete. The image covered more space and made distances harder to judge. Check the camera’s mounting height, too. A camera mounted too low may show the bumper clearly while missing taller obstacles. Wireless signals can also weaken near metal panels or other electronics, so test the system in your actual vehicle before installation.

7 Tips for Choosing a Wireless Backup Camera and Monitor - Match Monitor Size, Resolution, and Viewing Angle to Driver Safety
Tip Safety Decision Recommended Data Range Why It Matters Practical Selection Check
1 Match monitor size to viewing distance 4.3–5 in: compact cars and short dashboard distances
7 in: vans, pickups, and longer viewing distances
9 in or larger: large commercial vehicles, when mounting space allows
A larger screen can make pedestrians, obstacles, and parking lines easier to identify, but it should not block the windshield or critical controls. Sit in the driver’s seat and confirm that the entire display remains visible with a quick glance while keeping the forward road view unobstructed.
2 Choose sufficient display resolution 480 × 272 pixels: basic reversing assistance
800 × 480 pixels: practical minimum for clearer detail on many 5–7 in monitors
1280 × 720 pixels or higher: useful for larger screens and identifying smaller objects
Higher resolution improves the visibility of narrow objects, wheel stops, children’s toys, and parking markings, especially on larger displays. Prefer a monitor whose resolution is appropriate for its physical size; a larger screen with low resolution may appear soft or pixelated.
3 Select a useful horizontal viewing angle 120°–140°: suitable for many passenger vehicles
140°–170°: helpful for vans, trucks, trailers, and wide blind zones
Avoid choosing angle alone without checking image distortion and usable edge detail
A wider angle covers more area behind the vehicle, but extreme wide-angle lenses can make objects appear smaller and distort distance judgment. Verify that the camera shows both rear corners or the intended blind-zone area while maintaining recognizable object shapes near the edges.
4 Check wireless transmission reliability Transmission distance: at least the vehicle’s camera-to-monitor path with margin
Latency target: approximately 0.2 seconds or less for comfortable reversing
Look for stable operation through metal panels and vehicle wiring
Delayed or interrupted video can cause the driver to react late, particularly when maneuvering near walls, people, or other vehicles. Test the system in the actual vehicle with the engine running, doors closed, and all intended accessories powered.
5 Prioritize low-light and night visibility Low-light sensitivity: approximately 0.1 lux or lower is preferable for darker areas
Infrared illumination: useful for unlit reversing zones
Dynamic range: important when bright headlights or sunlight are present
A camera that performs well only in daylight may lose detail at night, when contrast, glare, and shadows make hazards harder to recognize. Check the image at dusk, in a dark parking area, and under direct headlight glare. Confirm that the picture remains usable rather than merely bright.
6 Match camera mounting height and guidance lines Mounting position: centered and high enough to reduce bumper obstruction
Guidance lines: adjustable or switchable
Image orientation: mirror view should match the driver’s natural rear-view perspective
Incorrect mounting or fixed guide lines can make the vehicle’s path appear inaccurate and may lead to poor distance or steering judgments. Calibrate the lines on level ground and confirm that they correspond to known distances, such as approximately 0.5 m and 1 m behind the vehicle.
7 Verify weather resistance, power, and installation safety Camera enclosure: IP67 is a strong target for exterior mounting
Operating temperature: commonly about −20°C to 65°C, depending on the product
Power: use a properly fused vehicle circuit and secure all cables away from moving or hot parts
Water ingress, vibration, unstable power, or loose wiring can reduce image quality and reliability when the system is most needed. Confirm the stated IP rating, temperature range, connector sealing, fuse requirements, and compatibility with the vehicle’s voltage system before installation.
Selection note: These are practical specification ranges for comparing wireless backup-camera systems. Actual safety performance depends on installation position, vehicle size, weather, lighting, wireless interference, and driver use. A backup camera should supplement—not replace—direct observation and mirror checks.