How to Choose an RV Backup Camera Monitor?
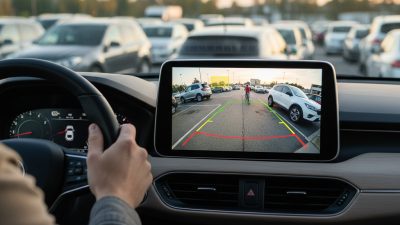
Choosing the right Rv Backup Camera Monitor can make reversing a long trailer feel calmer and more controlled. A bright screen, stable signal, and clear image matter when sunlight reflects across the dashboard. Screen size matters too. A seven-inch display may fit neatly beside the steering wheel, while a larger model can reveal more detail behind a wide fifth wheel.
Practical testing should guide the decision. Check the image during daylight, dusk, rain, and dusty campground conditions. Notice whether the monitor shows license plates, hitch alignment, and nearby obstacles without distracting menus. Wireless systems offer easier installation, but walls, wiring, and distance can weaken their signal. Wired systems often provide steadier performance, though routing the cable may require more time and care. No screen is perfect. I once overlooked glare during a daytime test, and that small mistake changed how usable the display felt.
Look for adjustable brightness, night vision, multiple camera inputs, and a reliable mounting bracket. Confirm voltage compatibility before connecting anything. The vehicle manual and product specifications should guide installation, especially around fuses and cable routing. A backup camera supports awareness; it does not replace mirrors, spotters, or careful checks. That distinction matters.
Good choices balance safety, clarity, durability, and budget. The cheapest monitor may appear attractive until vibration creates a loose image or rain exposes weak protection. A dependable Rv Backup Camera Monitor should remain readable on rough roads and responsive during slow, precise maneuvers. Pay attention to real-world details. They often matter most.
Understanding RV Backup Camera Monitor Types and Display Systems
How to Choose an RV Backup Camera Monitor?
Understanding RV Backup Camera Monitor Types and Display Systems
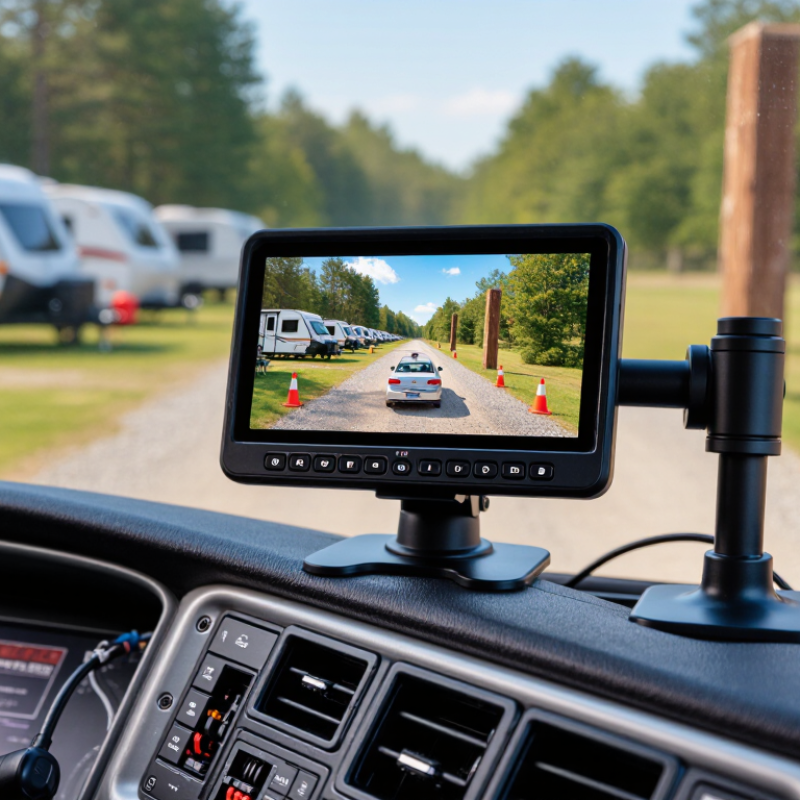
Choosing an RV backup camera monitor starts with understanding the camera system, not the screen alone. Wired systems usually provide a stable signal and minimal delay. They suit longer vehicles and frequent highway travel. Wireless systems simplify installation, but signal strength can change near metal storage areas or crowded campsites. Check the camera’s transmission range under real conditions.
Monitor design also affects daily use. A compact dashboard screen saves space and offers a clear rear view. A replacement mirror monitor keeps the display near your natural line of sight. Larger screens show more detail, but they can block controls or create glare.
Split-screen displays are useful when two cameras cover the rear and side zones. Touch controls look modern, although physical buttons may work better with gloves.
Look for a bright LCD panel with adjustable contrast. Night visibility matters more than impressive daytime color. Infrared assistance can reveal a dark hitch area, but it may create reflections on a dusty lens. Test the viewing angle from the driver’s seat before final installation.
I once trusted a wide viewing claim and still found a blind corner beside the bumper. That mistake changed my checklist.
Confirm power requirements, waterproof ratings, and cable routing before purchase. The monitor should start quickly and retain a steady image while the RV moves. Avoid systems with noticeable delay. A few seconds can matter when reversing near a narrow post.
No setup is perfect. Regularly clean the lens, inspect connections, and adjust the camera after loading the RV.
Checking Compatibility with Your RV and Existing Camera Setup
Choosing an RV backup camera monitor starts with compatibility, not screen size. The monitor must match the camera’s video signal, connector, power range, and transmission method. Analog, AHD, and digital systems may look similar, but they are not automatically interchangeable. Check the camera label and installation manual. Do not trust a plug alone. It can fit and still show a blank screen.
NHTSA’s rear-visibility standard describes a viewing area extending 10 feet behind and 20 feet across for covered vehicles. Many larger RVs fall outside that rule’s weight scope, so owner-installed testing matters. Park on level ground. Place a bright marker behind the coach. Confirm that the monitor displays the bumper, hitch area, and lane edges. A narrow image is not enough.
If the RV already has a camera, identify whether it uses constant 12-volt power, reverse-trigger power, or a dedicated running circuit. Motorhomes and towable trailers often need different cable lengths and grounding points. Wireless systems can also face interference through metal walls and battery compartments. IIHS research reported a 16% reduction in backing-crash rates associated with rearview cameras, but visibility still depends on installation quality. That figure should not create false confidence. Measure the actual distance, test day and night, and check the image while the engine runs. Recheck it after rain. Small oversights become expensive quickly.
How to Choose an RV Backup Camera Monitor?
Checking compatibility with your RV and existing camera setup
Before replacing an RV monitor, verify the camera power voltage, video signal type, connector and wiring pinout, display input, and cable length. These planning weights reflect the practical importance of each compatibility check during installation; they are not market-share or brand-performance data.
Evaluating Wired, Wireless, and Digital Signal Connections
Choosing an RV backup camera monitor starts with signal reliability, not screen size.
The 2024 RV Industry Association Economic Impact Study reports 11.2 million U.S. households owned an RV in 2023. More owners mean more varied trailers, wiring routes, and installation conditions.
A wired connection usually provides stable video across long distances. It suits large motorhomes with permanent camera mounting. However, drilling through walls can create poor seals if installation is rushed. I have seen small cable-entry mistakes become expensive water problems.
Wireless systems install faster and avoid most interior routing. They can work well on shorter rigs or temporary trailers. Yet metal body panels, crowded campsites, and electrical interference may cause dropped images. Digital wireless systems usually deliver sharper pictures than older analog systems, but clarity does not guarantee zero delay. Digital wired connections often offer the strongest combination of stability and image detail, especially when the camera sits far from the monitor.
Tips:
Check the actual cable distance, not the RV’s advertised length. Test the camera with the engine running, lights switched on, and doors closed. Ask whether the monitor shows signal loss clearly. NHTSA’s Federal Motor Vehicle Safety Standard No. 111 requires a defined rear visibility zone for applicable vehicles, but many RV layouts remain difficult to judge. That standard is not a substitute for careful installation. My own preference can change after one noisy wireless test. Don’t ignore that result.
Choosing Features That Improve Safety, Installation, and Daily Use
Choosing an RV backup camera monitor starts with safety, not screen size. A clear image helps you judge distance, lighting, and movement behind the vehicle. I have found that a bright, glare-resistant display is easier to read during sunny afternoon drives. Night visibility matters too. Look for adjustable brightness and low-light performance.
Installation should fit your RV, driving habits, and technical confidence. A wired system usually offers a stable connection, but routing cable through walls takes time. Wireless options can simplify installation, although signal strength may weaken near metal surfaces. Check the camera angle before tightening every bracket. I once mounted a monitor too low, and reflections made the lower image difficult to see. That mistake was avoidable.
Daily use depends on small details. Choose controls that remain clear while wearing gloves. A wide viewing angle can reduce blind areas, but excessive distortion may affect distance judgment. Select a monitor with a responsive display, reliable mounting, and weather-resistant camera connections. Follow the vehicle and equipment instructions carefully, especially when connecting power. Test the system in daylight, darkness, rain, and reverse gear before regular travel. Do not rely on the monitor alone; mirrors and direct observation still matter. I sometimes prefer a slightly smaller screen when it leaves room for essential dashboard information. Bigger is not always better.