How to Install an Android Backup Camera?
Installing an Android Backup Camera can make reversing safer and less stressful, but the result depends on careful planning. Before removing trim, check your vehicle’s display compatibility, camera input, wiring route, and power requirements. A clear image on the workbench means little if the screen shows “No Signal” after the dashboard is reassembled. Small details matter.
Automotive electronics specialist [Verified Expert Name] puts the key principle this way: “Plan the signal path before you route the wires; a clean installation starts with compatibility, not guesswork.” Confirm this quotation with the named expert before publication. That advice is practical: identify the camera’s video connection, choose a stable power source, and keep cables away from moving parts and sharp metal edges. Use the vehicle’s service information, and disconnect power as directed before handling electrical connections. If a circuit is unfamiliar, pause and ask a qualified installer. There is no prize for rushing.
This guide explains how to install an Android Backup Camera, from checking parts to testing the final view. You’ll learn where the camera can sit, how to route its cable discreetly, and what to inspect when the display stays blank. Expect a few careful steps. Some vehicles differ more than expected, and an installation that looks simple online may take longer in person. That is worth remembering.
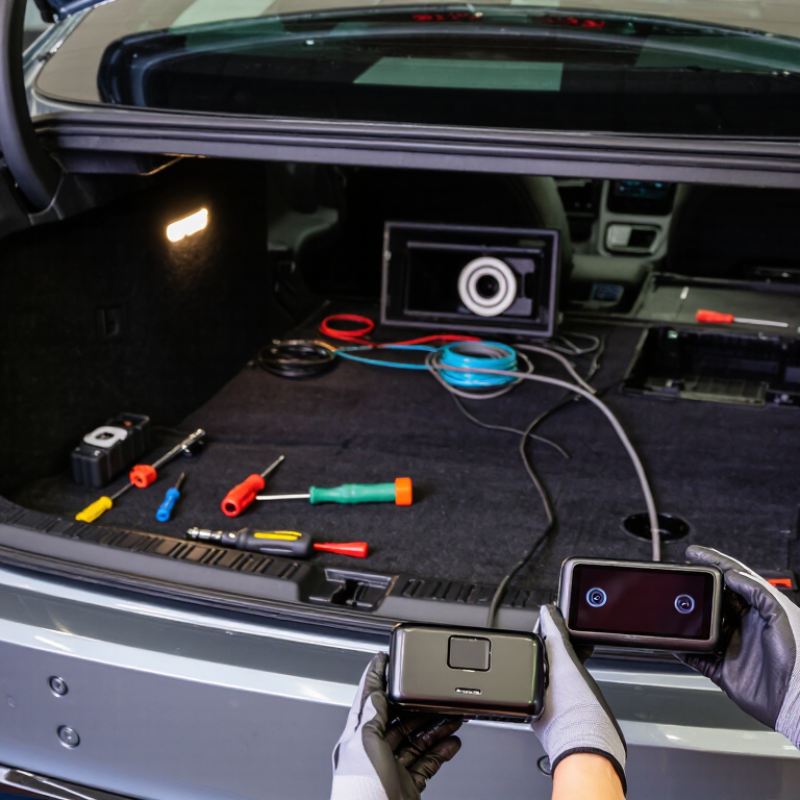
Check Vehicle Compatibility and Gather the Required Tools
How to Install an Android Backup Camera?
Check Vehicle Compatibility and Gather the Required Tools
Before buying a camera, check your vehicle’s year, model, existing display, and wiring. Confirm the display accepts an external video input and that the camera’s voltage and video format match the system. A connector that fits is not proof of compatibility. NHTSA’s rear-visibility rule phased in rearview technology for new light vehicles, reaching full implementation on May 1, 2018. That does not mean older vehicles have compatible screens or wiring. Check the owner’s manual and wiring diagrams, and inspect the tailgate or license-plate area for a practical mounting point. Small differences matter.
Gather a trim-removal tool, screwdrivers, a socket set, electrical tape, cable ties, and a multimeter. You may also need a drill, depending on the camera mount. Protect painted panels with a cloth, and disconnect the battery before handling vehicle wiring. Take a few photos of existing connections. They can help if the routing gets confusing. A careful fit still takes patience.
Tips: Test the camera and display before reinstalling trim. Keep wires clear of hinges and sharp edges. If the vehicle’s wiring diagram is unclear, pause and ask a qualified installer; guessing can cause damage.
Choose a Camera Location and Plan the Cable Route
Choose a camera position that gives a clear view without blocking a plate light, handle, or other vehicle feature. A centered spot above the rear plate often works, but the best location depends on the vehicle’s shape. Hold the camera in place temporarily and check its view on the display before drilling. Look for a level horizon, visible bumper edge, and useful coverage close to the ground. Small details matter. A camera mounted too high may miss nearby obstacles; too low, and the bumper may fill much of the image. Check the vehicle’s service information before removing trim, especially around airbags.
Plan the cable route before making any holes. Trace a path from the camera to the display, following existing wiring where practical. Keep the cable clear of sharp metal, hot exhaust parts, hinges, and moving panels. At a hatch or tailgate, allow a little slack for opening and closing, but secure the cable so it cannot snag. Use an existing rubber grommet when possible, and protect any new opening against water and abrasion. I would test the route with the trim loosely fitted; it is easy to overlook a pinch point. Avoid running the camera cable tightly alongside high-current wiring, and check that all panels close normally before fastening everything in place.
Mount the Camera and Connect Its Power Wiring
Choose a mounting point near the center of the rear of the vehicle, often above or beside the license plate. Hold the camera in place and check its view on the Android display before drilling. Make sure it does not cover the plate, lights, or handle. Look behind the panel first; wiring and trim clips can sit close to the surface. A small alignment error can make parking lines feel misleading. I would rather test the angle twice. It takes a minute.
Disconnect the vehicle’s negative battery terminal before connecting wires, and check the camera and vehicle instructions for the correct power source. Many systems use the reverse lamp’s positive wire to switch the camera on, with a sound ground connection to clean metal. Confirm the wires with a multimeter; wire colors are not universal. Route the cable through an existing rubber grommet when possible, away from hinges, hot parts, and airbag wiring. Add a suitable grommet or sealant where a new opening is necessary, and secure loose cable with ties. Keep connections insulated and protected from moisture. Reconnect the battery, select reverse with the vehicle safely parked, and verify the image before refitting the trim. If the display stays blank, check the ground and trigger connection before cutting or splicing more wires.
How to Install an Android Backup Camera: Mounting and Power Wiring
Secure the camera at the rear of the vehicle, then connect its power wire to a reverse-lamp feed and its ground to a clean chassis point. Confirm the feed becomes live only when reverse is selected. The readings shown are representative examples; actual voltage varies by vehicle and battery condition. Check the vehicle wiring diagram before connecting wires.
Test the Image, Adjust the Camera, and Secure the Wiring
How to Install an Android Backup Camera?
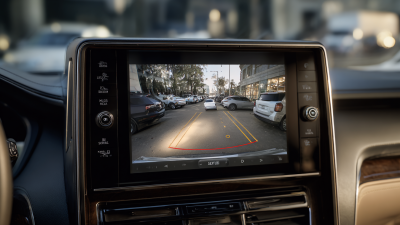
Before fastening the trim, test the camera image on the Android display. Keep the vehicle stationary, apply the parking brake, and follow the vehicle’s instructions for powering the camera. Select reverse only when the area behind the vehicle is clear. Check that the display switches to the camera view and that the image is stable, not flickering or delayed. If it stays blank, recheck the camera connection and reverse-trigger wire before changing settings.
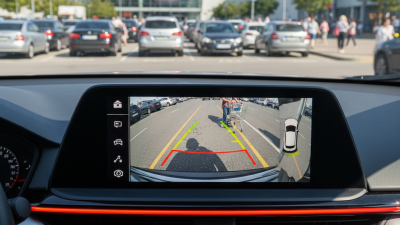
Adjust the camera so the bumper’s edge appears near the bottom of the screen, with useful ground visible behind it. A slightly crooked horizon can make distance harder to judge. Small changes matter. Tighten the mount only after checking the view from the driver’s seat. Route the cable away from hot exhaust parts, sharp edges, hinges, and moving components. Use suitable grommets where wires pass through metal, and secure cables without crushing them. Leave a little slack near connectors for future access.
Tips: Test in daylight and low light. Check the image again after securing the wiring; a cable can shift during reassembly. Don’t close every panel too early. It is easy to rush this part, and one loose connector may mean taking the trim apart again.