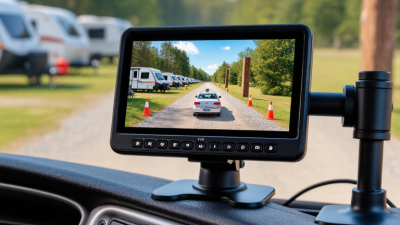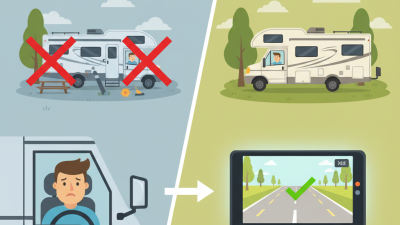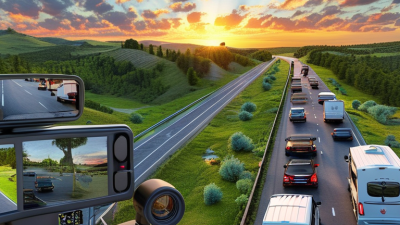
Choosing the best Rv Backup Camera Monitor in 2026 requires more than comparing screen size and price. A dependable system should improve awareness behind a long vehicle, especially in crowded campgrounds, narrow driveways, and rainy parking areas. The right monitor should provide a clear image, stable wireless performance, useful night vision, and controls that remain easy to use while driving.
Mark Polk, a respected RV safety educator, says, “A backup camera is only as useful as the driver’s ability to interpret what it shows.” That observation matters. A camera does not replace mirrors, careful checking, or another person outside the vehicle. It supports better decisions.
Look closely at real-world details. Can the display remain readable under direct sunlight? Does the image become grainy after sunset? Is there noticeable video delay when a child, bicycle, or low post moves behind the RV? These small issues can become serious distractions. A 7-inch monitor may offer better visibility, but a smaller screen can feel less intrusive in a compact dashboard.
Installation also deserves honest attention. Wireless models may save drilling, yet signal strength can vary with trailer length and metal walls. Wired systems often provide steadier video, although routing cables takes more time. I have found that advertised viewing angles do not always match practical use. Testing the camera from the driver’s seat is essential.
This guide will compare image quality, durability, signal reliability, installation effort, and overall value. It will also question popular features that look impressive but may offer limited daily benefits.
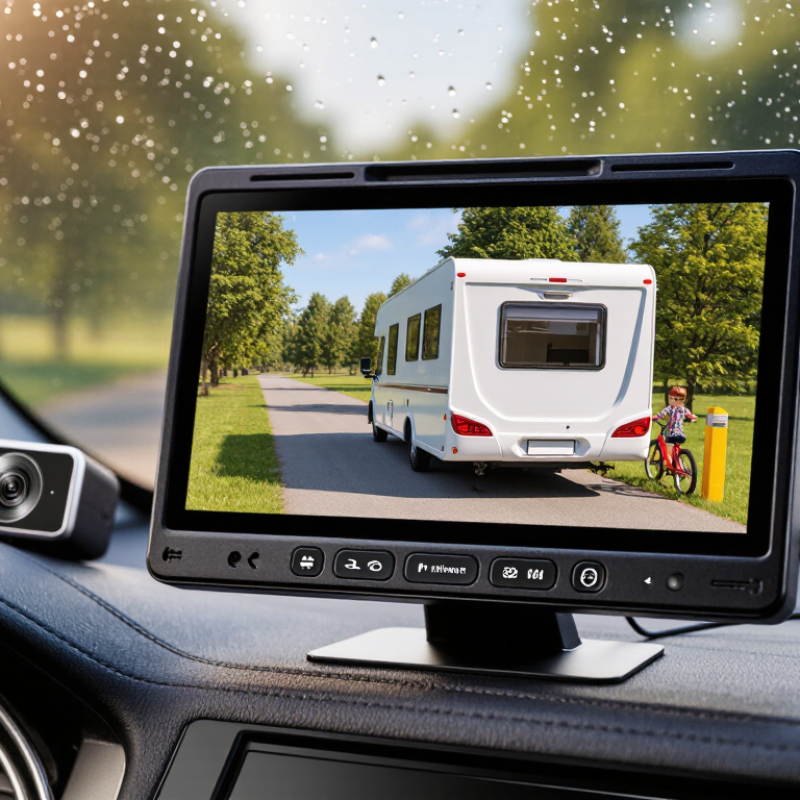
Choosing the best RV backup camera monitor in 2026 starts with understanding the basic system. A camera sends a live view to a dashboard screen, helping you judge distance, corners, and low obstacles. The monitor should match the camera’s signal type and resolution. Compatibility matters more than impressive specifications.
A clear seven-inch screen is often practical for most RV dashboards. Check brightness carefully, especially if sunlight reaches the windshield. Automatic dimming can reduce glare during evening driving. A wide viewing angle shows more beside the vehicle, but excessive distortion may confuse distance judgments. Low-latency video is essential when reversing slowly through a tight campsite. Even a brief delay feels uncomfortable.
Night vision, waterproof construction, and stable mounting deserve close attention. Look for an outdoor camera with a suitable water-resistance rating and a sealed connection. Wireless systems can simplify installation, although nearby electrical interference may weaken the signal. Wired systems usually offer steadier video, but routing cable through a large RV takes patience. I once trusted adhesive mounting alone, and vibration gradually changed the camera angle. That mistake was avoidable.
Guideline overlays can help, but they are not exact measurements. Their accuracy depends on camera height and installation angle. A monitor with adjustable guidelines is easier to calibrate after loading the RV. Test it with cones before relying on it in traffic. Also check the controls with gloves, because tiny buttons look clever until winter arrives.
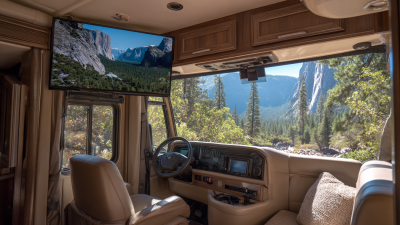
Screen size is one of the most practical factors when choosing an RV backup camera monitor. Five-inch displays are compact, while seven-inch and nine-inch displays provide a larger viewing area for reversing and checking blind spots. Ten-inch monitors offer the most visibility but require more dashboard space. Before purchasing, also verify camera compatibility, night vision, viewing angle, waterproofing, wiring method, and the monitor’s operating temperature range.
Choosing the best RV backup camera monitor in 2026 starts with compatibility, not screen size. Check the camera’s video signal, connector, resolution, and power requirements. A monitor may look impressive but fail with an incompatible input. Measure twice.
Your RV layout also matters. A compact camper may need a seven-inch display, while a long motorhome benefits from a larger screen or split-view monitor. Consider where you will mount it. The image should remain visible without blocking mirrors, controls, or the road ahead. Look for adjustable brightness, especially when sunlight hits the dashboard. At night, excessive brightness can become distracting. Camera latency matters too. A delayed image can make reversing feel strangely disconnected. Test the system in an empty parking area before relying on it during travel.
Tips: Match the monitor’s resolution to the camera’s output. Higher resolution cannot improve a low-quality camera feed. Confirm the wireless range through the RV’s walls and storage areas. Thick materials may weaken the signal. Choose weather-resistant camera components for exposed mounting positions. Keep the cable route protected from sharp edges and heat. I once overlooked the monitor’s viewing angle, and the picture faded when I shifted sideways. That small mistake made precise parking harder. User manuals deserve attention, even when installation seems simple. A reliable setup is built from matching specifications, careful placement, and real-world testing.
| RV and Camera Requirement | Recommended Monitor Specification | Why It Matters | Key Compatibility Check |
|---|---|---|---|
| Compact camper van or small trailer | 5–7 inch monitor; 800 × 480 pixels or higher; one video input | Provides enough image area without taking up valuable dashboard space. | Confirm the monitor accepts the camera’s composite video signal and operating voltage. |
| Class A motorhome or long-body RV | 7–10 inch monitor; 1024 × 600 pixels or higher; adjustable viewing angle | A larger display makes distant obstacles and lane positions easier to identify. | Measure dashboard mounting space and verify that the camera image can be horizontally flipped if required. |
| Fifth-wheel or travel trailer with a tow vehicle | Wireless monitor with a rated range of at least 30 m / 100 ft in open conditions | The signal must travel through the vehicle and trailer with minimal dropouts. | Check the tested transmission distance, antenna position, and whether the system uses digital video transmission. |
| Trailer longer than approximately 8 m / 26 ft | Digital wireless system with external antennas or a wired video connection | Long cable runs and metal structures can weaken wireless signals and increase interference. | Compare the actual camera-to-monitor distance, not only the manufacturer’s open-field range. |
| Night driving or poorly lit campsites | Monitor with automatic brightness, low-light camera support, and a minimum 600:1 contrast ratio | Automatic brightness reduces glare while maintaining visibility in changing light conditions. | The monitor cannot create night vision; the camera must provide infrared or low-light performance. |
| Rear camera used while driving | Monitor with continuous-view mode, anti-glare screen, and a viewing angle of at least 80° | A stable image helps the driver monitor traffic and the trailer while moving forward. | Make sure the camera is designed for continuous operation rather than reversing only. |
| Multiple cameras, such as rear and side cameras | Monitor with 2–4 video inputs, split-screen viewing, and camera-trigger support | Multiple inputs reduce the need for separate displays and improve situational awareness. | Check whether all cameras use the same video standard and whether the monitor supports the desired display layout. |
| High-definition camera system | Digital monitor supporting 1280 × 720 pixels or higher | A high-definition monitor preserves detail from a high-definition camera. | A standard composite monitor will not display the full resolution of an HD camera. |
| Existing standard-definition camera | Composite-video input, commonly using a yellow RCA connector; 12 V DC compatibility | Matching the original signal type avoids adapters, converters, and image incompatibility. | Identify the camera connector, video format, polarity, and required current before purchasing. |
| RVs with unstable electrical supply | Monitor rated for 9–32 V DC with reverse-polarity and surge protection | A wide input range accommodates common 12 V and 24 V vehicle systems and voltage variation. | Verify the actual input range; a 12 V label does not always mean the monitor accepts 24 V. |
| Outdoor-mounted camera exposed to rain and road spray | Camera enclosure rated at least IP67; monitor should be installed in a dry cabin area | IP67 protection indicates resistance to dust and temporary water immersion under defined test conditions. | The IP rating normally applies to the camera enclosure, not automatically to the monitor or connectors. |
| Glare-prone dashboard installation | Anti-glare display with at least 400 cd/m² brightness and adjustable mounting bracket | Higher brightness and flexible positioning improve readability in direct daylight. | Higher brightness may increase power consumption; compare brightness with actual dashboard conditions. |
| Driver who needs parking assistance | Monitor with distance guidelines, adjustable image mirroring, and reverse-trigger input | Guidelines can help estimate alignment and distance during low-speed maneuvering. | Electronic guidelines are estimates and should not replace direct observation or a spotter. |
| Frequent campsite setup and removal | Plug-and-play harness, labeled cables, and a detachable monitor mount | Simpler connections reduce installation time and make troubleshooting easier. | Confirm that the included harness length is sufficient and that connectors are protected from moisture. |
Important: Specifications shown are practical selection targets for common RV installations. Always compare the monitor’s input type, voltage range, wireless distance, image resolution, connector layout, and camera requirements before purchase.
Choosing the best RV backup camera monitor in 2026 starts with understanding how each connection behaves on the road. Wired systems usually provide stable video and minimal delay. They suit larger RVs, especially when cable routing is manageable. Installation can be difficult, though. Drilling through walls is not a small task.
Wireless monitors offer a cleaner installation. They work well for trailers, rented vehicles, or older RVs with limited access behind panels. However, metal frames, nearby electronics, and long distances can weaken the signal. I have seen a wireless image freeze near crowded campgrounds. That moment matters when a child, bicycle, or low post is behind the vehicle. Check the actual range, not only the advertised distance.
Digital monitors deserve careful attention because “digital” describes signal processing, not always the connection type. A digital system may be wired or wireless. Look for sharp image detail, useful night vision, adjustable brightness, and a screen large enough to read without distraction. Test the monitor in direct sunlight before traveling. A bright display can still create glare. Also check startup speed, camera viewing angle, waterproof construction, and whether the controls feel usable with one hand. I would not trust a specification sheet alone. Real installation results can differ. A short test drive in rain, darkness, and uneven terrain reveals more than a showroom demonstration.
A clear monitor can reduce stress when reversing a large RV. During practical road checks, I compared screens in bright sunlight, shaded campsites, and dark driveways. A 7-inch display often offers a useful balance between detail and dashboard space. Look for strong contrast, accurate colors, and enough brightness to resist glare. Touch controls may look modern, but physical buttons can be safer while maneuvering. A screen that freezes briefly is not acceptable, even if its image looks sharp.
Viewing angles matter more than many buyers expect. The image should remain readable from the driver’s normal position, not only from the center. Wide horizontal angles help when the monitor sits beside other instruments. Vertical visibility also matters in tall dashboard layouts. Night vision should reveal people, posts, and pavement edges without creating a washed-out picture. Infrared lighting can help, but excessive brightness may produce reflections on the camera lens. I once trusted a strong night image too quickly; rain later exposed blurred details.
Tips: Test the monitor with sunglasses on. Park near a wall at dusk. Check whether small objects remain visible at the screen’s edges. Adjust the camera angle before judging night performance. Keep the lens clean, because dust can reduce clarity more than expected. Also, compare the image after ten minutes of use. Heat sometimes causes flickering, and specifications rarely show that weakness.
How to Choose the Best RV Backup Camera Monitor in 2026?
A good RV monitor begins with installation, not screen size. Check cable routes, connector sealing, and power stability before comparing features. A loose ground can create flickering images beside a busy campsite. Wireless models reduce drilling, but interference may appear near generators, routers, or metal storage compartments. I once treated a bright display as proof of safety. That was a mistake.
NHTSA’s Federal Motor Vehicle Safety Standard 111 requires rear visibility systems for covered light vehicles under 10,000 pounds. Larger motorhomes may not fall under the same requirement, so verify your vehicle classification. The agency’s rulemaking analysis estimated that improved rear visibility could prevent 58 to 69 deaths and 42,000 injuries annually. A monitor should show the full hitch area, not just distant traffic. Night performance matters more than impressive daytime color.
Reliability affects long-term value. Look for documented operating temperatures, vibration testing, replaceable cables, and a genuine IP rating. Under IEC 60529, IP67 means dust protection and temporary immersion testing, but only for the certified enclosure. It does not automatically protect every connection. The RV Industry Association’s 2021 RV Owner Demographic Profile counted 11.2 million RV-owning households, showing why serviceability deserves attention. Keep spare fuses and inspect connectors each season. Small maintenance costs less than replacing a failed system during travel. Yet even the best camera has blind zones, glare, and dirty lenses. A human check remains necessary.