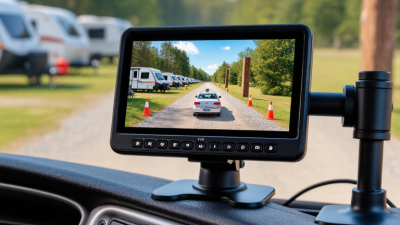
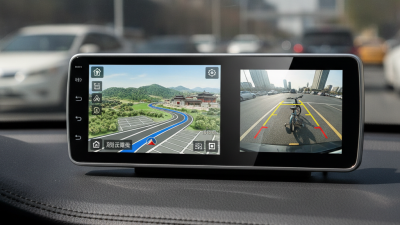
7 Tips for Choosing the Best RV Backup Camera Monitor
Choosing an RV Backup Camera Monitor can feel simple until you compare real-world driving conditions. A bright campground, a narrow storage lane, and a rainy highway expose different weaknesses. Screen size matters, but it is only one part of the decision. A large display may still show a poor image at night.
RV safety educator Gary Bunzer offers a practical reminder: “A backup camera is an aid, not a substitute for a spotter.” That principle should guide every purchase. The best monitor supports careful driving, mirror checks, and patient observation. It should not create false confidence. Even experienced RV owners can misjudge distance when a small car disappears behind a large trailer.
This guide presents seven useful tips for choosing the right system. We will examine screen brightness, viewing angle, camera resolution, night vision, weather resistance, wireless stability, and installation requirements. Compatibility deserves attention too. Some monitors work well with older cameras, while others require a complete replacement. That detail can change the final cost.
Look beyond impressive packaging. Test the image from the driver’s seat, not from a showroom counter. Check whether menu buttons remain usable while wearing gloves. Notice glare across the screen. Small details matter.
No monitor is perfect.
A reliable choice should reduce blind spots without distracting you. It should also withstand vibration, temperature changes, road spray, and repeated daily use. These recommendations are practical, though personal needs still vary. A short motorhome and a long fifth wheel will not demand exactly the same setup.
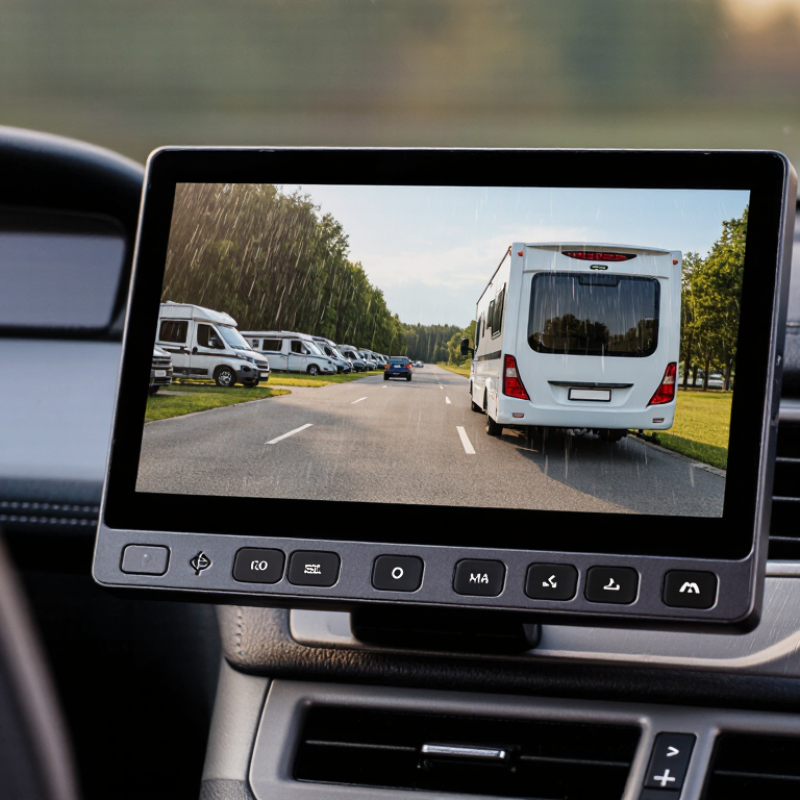
Define Your RV’s Backup Camera and Monitoring Requirements
Before choosing an RV backup camera monitor, define what you need to see. Measure the trailer’s length and rear height. A compact camper may need one clear rear view. A longer RV may require wider coverage or side cameras. Think about blind spots, especially near the lower bumper and hitch.
Lighting changes everything. Check whether the camera can show detail at night, in rain, or beneath bright sunlight. A monitor with adjustable brightness can reduce dashboard glare. Screen size matters too. You should read the image without leaning forward. Test the viewing angle from the driver’s seat, not from the showroom floor. Small details matter.
Consider how you will use the system daily. Do you need continuous rear visibility while driving, or only help while reversing? A low-delay connection is important when guiding the RV into a tight campsite. Wired systems may offer steadier signals, while wireless systems can simplify installation. However, nearby electronics and the RV’s structure may affect performance. I once underestimated cable routing and spent extra time securing it away from moving parts. That mistake changed my checklist.
Ask whether the monitor supports a trailer camera, multiple views, recording, or parking guidelines. Confirm the power requirements before installation. A feature is not useful if it distracts you or creates complicated controls. Test the camera after installation in daylight and darkness. Recheck it after rain, vibration, and a few highway trips. Your requirements may change after real use. That is worth accepting.
Compare Monitor Display Quality, Size, and Viewing Angles
A reliable RV backup camera monitor should show real detail, not just bright colors. Compare resolution carefully. A 1080p display can reveal a child’s bicycle or a low parking post more clearly than a softer screen. Check brightness in daylight, then test it after sunset. Excessive glare can hide useful details. A matte surface often helps, although it may slightly reduce image richness. Small differences matter.
Choose a screen size that suits your dashboard and viewing distance. A seven-inch monitor may fit neatly beside the steering wheel. A larger screen can make distant obstacles easier to judge. However, oversized displays may block controls or distract the driver. Measure the available space before buying. I once preferred a large monitor, but its mounting position created an awkward blind spot. That mistake changed my priorities.
Viewing angles deserve a practical test. Sit normally, then lean toward each door. The picture should remain clear without heavy color shifts or dark corners. A wide horizontal angle helps when checking adjacent lanes. Vertical performance matters when the camera points toward a sloped driveway. Compare response speed, too. Delayed images can make reversing feel uncertain. Look for stable movement, readable night footage, simple brightness controls, and secure mounting. No monitor is perfect. Your real dashboard, lighting, and driving habits should decide the final choice.
7 Tips for Choosing the Best RV Backup Camera Monitor
Larger monitors generally improve glance readability, while higher pixel counts provide sharper images. A wider viewing angle helps passengers and drivers see the display from different seating positions. The chart uses common monitor specifications found in the RV backup-camera market; always verify the exact specifications before purchasing.
Evaluate Wireless Range, Signal Stability, and Installation Needs
7 Tips for Choosing the Best RV Backup Camera Monitor
Wireless range matters, but advertised distance rarely matches a moving RV. Measure the real path from the rear camera to the dashboard monitor. Metal walls, storage compartments, and appliances can weaken the signal. A clear driveway test is useful. Repeat it indoors, with doors closed. That difference can reveal installation problems early. Choose a system with extra range, not the absolute minimum. Shorter distances usually provide more dependable performance.
Signal stability deserves more attention than screen size. Watch for freezing, delayed images, or brief blackouts while walking around the vehicle. Test the camera near running lights, charging equipment, and other electronics. A stable connection should recover quickly after interference. Some systems offer wired options, external antennas, or stronger receivers. These features may cost more, but they can reduce stress during reversing. I once trusted a strong signal in an open yard, then found repeated drops beside a metal trailer. The test was too simple.
Installation needs also shape the right choice. Check whether the camera requires drilling, a dedicated power line, or weather sealing. Confirm that the monitor can reach its mounting position without blocking controls. Use protected cable routes and secure every connection against vibration. Wireless does not mean effortless. It still needs steady power and careful placement. Leave room for adjustment after installation. My own first setup sat too low, and the wide view looked impressive but hid the nearest corner. A second mounting position worked better.
Check Night Vision, Weather Resistance, and Camera Durability
Night vision is not a decorative feature on an RV backup camera monitor.
A dark campsite can hide a child, bicycle, or low fence within seconds. NHTSA’s rear visibility rulemaking estimated about 210 fatalities and 15,000 injuries annually from backover incidents in the United States. Infrared illumination can improve visibility, but test it in real darkness. Some systems produce a bright image with heavy noise. Others show distance poorly. A 20-foot test at dusk is useful.
Weather resistance matters just as much.
NOAA recorded 28 U.S. billion-dollar weather and climate disasters in 2023. RV equipment may face rain, road spray, dust, heat, and freezing temperatures during one trip. Look for a documented IP rating under IEC 60529. IP67 indicates dust protection and temporary immersion, but it does not guarantee long-term resistance to vibration or saltwater. The mounting seal deserves equal attention. Water often enters around the cable, not through the camera housing.
Camera durability should match the vehicle’s actual use.
Check operating-temperature ranges, shock resistance, connector quality, and cable flexibility. A wide viewing angle helps, yet excessive distortion can make a nearby object appear farther away. The RV Industry Association reported approximately 11.2 million U.S. RV-owning households in its 2023 survey, showing how widely these systems are used. Still, published specifications can be incomplete. I would record the image after rain, inspect the lens for fogging, and repeat the test after several cold starts. That small routine may reveal weaknesses a showroom cannot.
Assess Recording Features, Compatibility, Controls, and Overall Value
Tip 1: Verify compatibility before comparing screen size. An RV camera monitor must match your trailer’s voltage, connectors, camera count, and signal type. The RV Industry Association’s 2023 Annual Report recorded 313,174 wholesale RV shipments. That variety makes universal compatibility claims worth questioning. Tip 2: Test the complete cable route, not only the camera image. Long wiring can introduce flicker, delay, or nighttime noise. A specification sheet cannot reveal every installation problem.
Tip 3: Assess recording features carefully. Choose loop recording, date and time stamps, adjustable resolution, and reliable storage support. A parking incident may last only seconds. Without automatic overwriting, storage can fill during a long trip. NHTSA’s Federal Motor Vehicle Safety Standard No. 111 requires rear visibility systems on certain newer vehicles, but compliance does not guarantee useful recorded evidence. Recording quality still depends on lighting, lens position, and compression.
Tip 4: Examine the controls while wearing gloves. Large physical buttons are safer than tiny touch targets. Tip 5: Compare blind-spot views, split-screen options, and low-light performance. A wide image can still distort distance. Tip 6: Calculate the full cost, including wiring, mounting hardware, storage, and installation time. The cheapest monitor may demand repeated adjustments. Tip 7: Judge value through a real test. Reverse beside a dark fence, tow at dusk, and check glare from headlights. An honest review should mention weak points, not only impressive features.