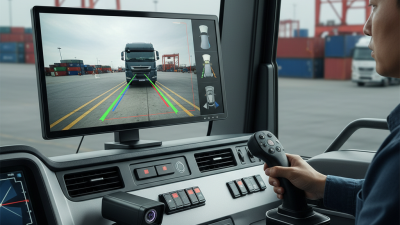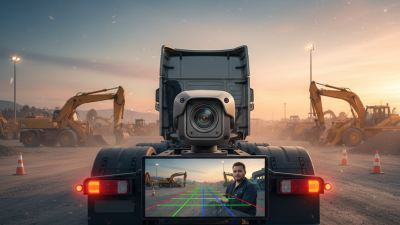
A reversing maneuver can turn a crowded loading bay into a blind spot. A Truck Reverse Camera helps reveal what mirrors may miss: a low bollard, a child’s bicycle, or a worker crossing behind the bumper. The stakes are real. The U.S. National Highway Traffic Safety Administration estimated that backover crashes caused about 210 deaths and 15,000 injuries annually in its 2014 analysis. That figure is an older national estimate, not a current count or a truck-only statistic. It still shows why visibility deserves careful attention.
Choosing a camera is not just about screen size. Image clarity in rain, night performance, viewing angle, monitor placement, cable reliability, and resistance to vibration all matter on the road. A bright display can still disappoint if glare washes out the image. Small details count. NHTSA’s rear-visibility rule and related safety materials provide useful context, though requirements and vehicle configurations differ. This guide focuses on practical selection, not a promise that technology replaces mirrors, training, or a careful walk-around.
A note on sourcing: no verifiable named truck-camera expert quotation was provided, so I will not invent one. That restraint matters. The best choice depends on the truck, its routes, and the conditions drivers actually face. A camera tested beside a clean showroom wall may behave differently after a week of dust, rain, and vibration. Here are five tips to help assess what will work in everyday use—and what may need a second look.
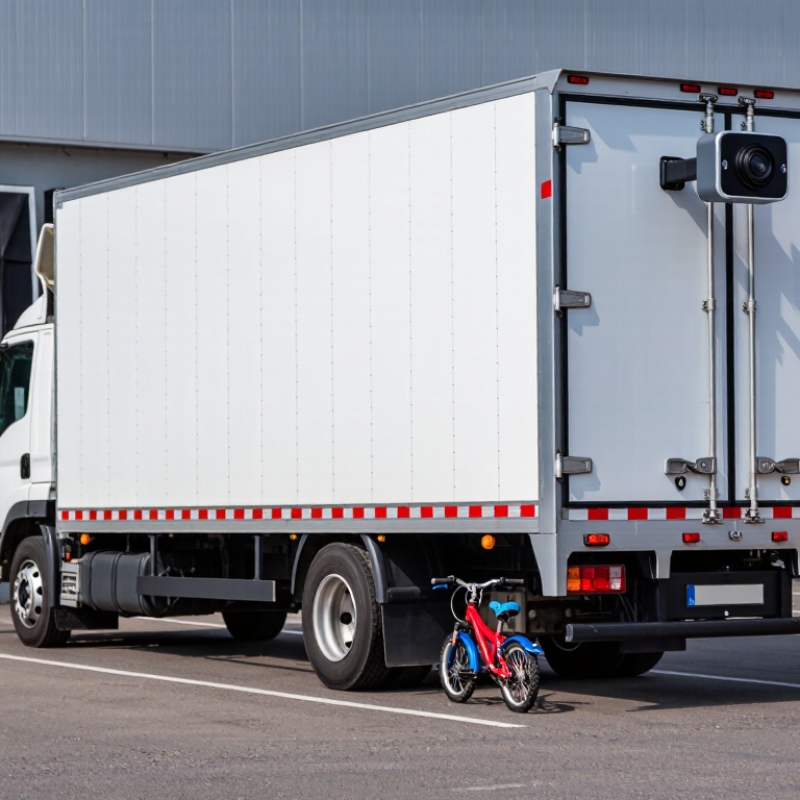
Tip 1: Measure your truck’s overall length and width before choosing a reverse camera. A short cab-and-chassis truck needs a different view from a long vehicle with a box or trailer.
Tip 2: Check the rear layout. A liftgate, spare tire, or tall load can block a camera mounted too low. Note what usually sits behind your truck.
Tip 3: Match the camera’s viewing angle to your reversing space. Tight yards and busy loading bays may call for a wider view, but extra width can make distant objects look smaller.
Tip 4: Consider where the screen will sit. You should be able to glance at it without losing sight of your mirrors and surroundings. Keep it practical.
Tip 5: Think about your usual reversing conditions, such as dim depots, rain, or frequent trailer changes. Check that the camera position and display suit those tasks. A camera cannot show every blind spot, and installation details may affect the view. Measure twice; the first estimate is often wrong.
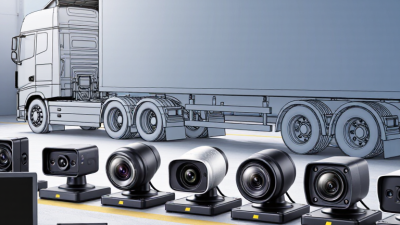
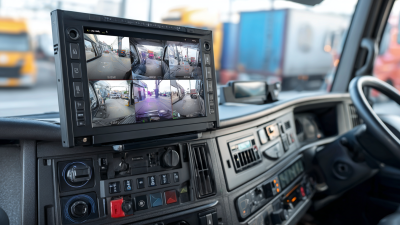
A truck’s camera type should match the job. A single rear camera gives a clear view directly behind the tailgate, while a multi-camera system can show side zones during turns. Wired systems avoid some wireless interference, but installation takes longer. Wireless systems are easier to fit; signal quality can vary around metal bodies. Check the image at dusk, in rain, and with a trailer attached. Small details matter.
Viewing angle is not just a numbers game. A very wide lens may reveal nearby obstacles but make distant objects look smaller. NHTSA’s rear-visibility standard uses a 10-foot-wide area extending 20 feet behind certain lighter vehicles; heavy trucks may fall outside that scope. Use it as a reference, not a universal truck specification. The IIHS and HLDI reported in 2018 that rearview cameras were associated with 17% fewer backing crashes; cameras combined with parking sensors, 42% fewer. A camera helps, but it does not replace checking mirrors.
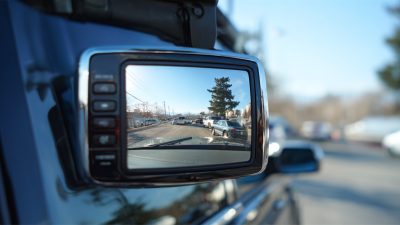
Monitor choice affects whether the view is useful at a glance. A dash screen is easy to see, while a mirror-style display keeps the driver’s gaze near the usual mirror position. Compare screen brightness, night glare, and whether the image switches on automatically in reverse. Test the mounting position from the actual driving seat. It can feel awkward at first. A split-screen view may also shrink each image, so check whether nearby curbs and people remain distinct.
A truck reverse camera should show detail, not just a bright rectangle. Look for a clear image with low distortion and enough horizontal coverage to reveal a child, curb, or loading-dock edge. IIHS reported that rearview camera systems were associated with 17% fewer police-reported backing crashes in its 2014 study. That benefit depends on seeing useful detail, not merely having a screen.
Night performance deserves a real check. A camera may look sharp in daylight but turn headlights into glare after dusk. Check how it handles dark corners, wet pavement, and sudden changes in light. Check the corners. If possible, compare the picture in a dim yard before buying. A delayed or noisy image can make judging a short gap harder. I would not trust a specification sheet alone.
Weather protection matters on a working truck. Look for a stated ingress-protection rating and sealed connectors, then check how the cable will be routed and exposed. Under IEC 60529, IP67 means dust-tight protection and resistance to temporary immersion under specified test conditions. It does not guarantee every installed connection will stay dry. That distinction is easy to overlook. Rain, road spray, vibration, and grime can find weak points over time, so inspect the mount and wiring too. A camera that survives the housing test may still need careful installation.
Choosing a truck reverse camera starts with the installation, not the feature list. Tip 1: Measure the distance from the rear mounting point to the display. A long truck may need a suitable cable or a dependable wireless connection. Check the camera’s power requirements, display input, and mounting options before buying. A bracket that looks right online may not fit your tailgate or bodywork. Measure twice.
Tip 2: Match the camera to your driving conditions. A weather-resistant housing helps when spray and road grime collect near the rear of the truck. For dim yards or early mornings, look for useful low-light performance. A wide viewing angle can reveal nearby obstacles, but extreme angles may make distances harder to judge. Parking guidelines can help, though they should not replace checking mirrors and surroundings.
Tip 3: Consider how the image behaves in daily use. Confirm whether the display needs a mirrored image, and check that its size and brightness suit the cab. Wireless systems can simplify routing, but signal quality may vary with vehicle length and obstructions. Wired installation takes more effort. It may still be the steadier choice. Follow the vehicle’s installation guidance, and ask a qualified installer if wiring or mounting is unclear. One small oversight—like a loose cable—can spoil an otherwise useful setup.
| Tip | What to Check | Practical Guidance | Why It Matters |
|---|---|---|---|
| 1Confirm installation requirements | Mounting position, available space, cable route, and access to a suitable power source. | Measure the mounting area and plan how the cable will pass from the camera to the cab. Check whether the installation requires drilling, a mounting bracket, or a professional installer. | Truck bodies and trailers vary, and a camera or cable that does not suit the vehicle layout can make installation difficult or unreliable. |
| 2Check vehicle and display compatibility | Vehicle voltage, camera power requirements, video signal format, and the display’s input connections. | Verify the camera and display specifications together. Some systems use different video formats or connectors, and a 12-volt vehicle and a 24-volt vehicle may require different power arrangements. | A camera may physically fit but still fail to work with an incompatible monitor, wiring system, or video input. |
| 3Choose a suitable viewing angle | Field of view, image coverage, and the camera’s intended mounting height and position. | Compare the manufacturer’s stated viewing angle and coverage diagrams. A wider view can show more of the area behind the truck, but objects may appear smaller and distances can be harder to judge. | The right balance helps the driver see relevant obstacles without relying on the camera alone to estimate distance. |
| 4Look for weather and low-light suitability | Ingress-protection rating, temperature range, night-vision capability, and performance in glare or poor lighting. | For an exterior camera, check its stated environmental rating and operating range. If an IP rating is listed, confirm it applies to the camera as installed; low-light performance depends on the camera and surrounding conditions. | Exterior equipment is exposed to rain, dust, vibration, temperature changes, and changing light conditions. |
| 5Review useful display and system features | Screen visibility, image orientation, parking guidelines, trigger wiring, and support for additional cameras. | Choose a display that is easy to read from the driving position. Check whether guidelines can be adjusted or disabled, whether the image can be flipped, and how the system switches to the rear view when reverse is selected. | Clear controls and a correctly oriented image make the system easier to use. Guidelines are visual aids and should not be treated as precise distance measurements. |
A low-priced truck reverse camera can become expensive if vibration loosens its mount or moisture clouds the lens. Compare image stability, night visibility, cable protection, and warranty coverage—not just screen size. NHTSA’s 2014 rear-visibility rulemaking estimated that rearview camera requirements could prevent 58 to 69 deaths each year. That figure concerns passenger vehicles, not every truck setup, but it shows why a clear view matters.
Read warranty terms closely. Check whether coverage includes the camera, display, wiring, and labor, and whether damage from vibration or water is excluded. IIHS research found rearview cameras were associated with a 17 percent reduction in backing-crash rates in the vehicles studied. Results may differ for commercial trucks, so treat that number as context, not a promise. Ask for the camera’s ingress-protection rating and operating-temperature range, then check that both suit your truck’s work conditions.
Add the full installation cost. A rugged camera may need a compatible monitor, longer cables, or professional fitting. Those details can shift the budget. I would compare the cost of replacing a failed unit with the cost of a longer warranty; the cheaper option is not always the sensible one. Still, warranties can have exclusions, and no camera removes every blind spot. Test the view in daylight and darkness, with the truck loaded, before relying on it.
Balance reliability, warranty, and cost before choosing a camera.
How to use this chart: These suggested weights total 100% and provide a practical starting point—not results from a market survey. Compare cameras on each criterion, then adjust the weights to suit your truck, operating conditions, and budget.