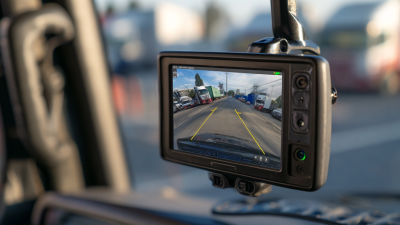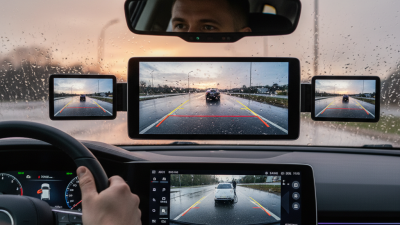
A Hidden Backup Camera can fail quietly, even when the dashboard screen still turns on. The image may disappear, flicker, show blue lines, or remain completely black. These symptoms often point to different problems. A failed reverse-light circuit, loose connector, damaged ground wire, or moisture behind the camera can each create similar confusion.
Daniel Ruiz, an automotive electronics technician with over fifteen years of installation experience, explains, “A camera rarely fails without leaving a clue; trace power and ground before replacing the camera.” His advice matters because many owners blame the camera too quickly. That assumption is often wrong. A digital multimeter can reveal whether the camera receives voltage when reverse gear is selected. A small inspection light can expose corrosion inside the tailgate or license-plate housing.
Start with simple evidence. Do the reverse lights work? Does the screen change when shifting into reverse? Is the camera lens covered with road film, ice, or water droplets? These details narrow the fault without unnecessary parts replacement. Sometimes the problem is embarrassingly small.
Still, diagnosis is not always straightforward. Factory wiring may pass through tight rubber boots, where repeated opening and closing causes hidden breaks. Aftermarket systems may also use unusual adapters or separate control modules. The following guide examines these failure points carefully, explains practical testing steps, and identifies when professional service is safer than guesswork. A camera should improve awareness, not create fresh uncertainty.
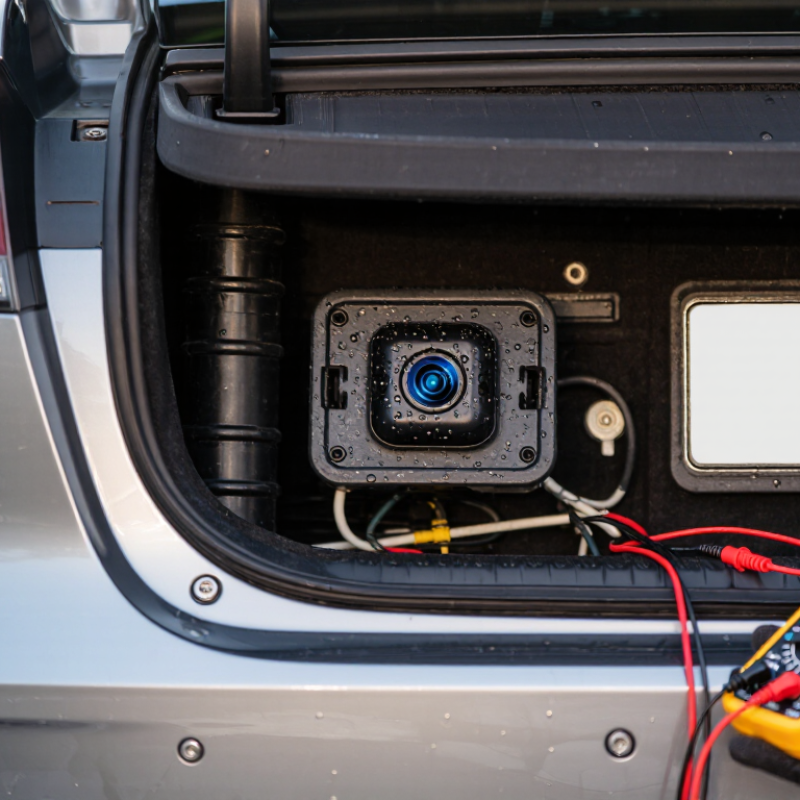
A hidden backup camera that suddenly goes dark often has a simple electrical cause. Start at the fuse. Check the vehicle manual for the camera or display fuse, then inspect it under good light. A broken metal strip means replacement is necessary. Use the same amperage rating only. Never install a larger fuse to keep the camera working.
If the fuse is intact, test power at the camera connector with a multimeter. The ignition may need to be on, and reverse gear may need to be selected. A loose ground can create a black screen, flickering image, or intermittent signal. Inspect the wiring near the tailgate hinge, where repeated bending can damage insulation. Check for green corrosion, bent pins, or water inside the connector. NHTSA’s rear visibility rule, FMVSS No. 111, estimated that camera systems could prevent 58–69 deaths and 42,000 injuries annually. That figure explains why a failed camera deserves prompt attention, not a quick guess.
Tips: Clean and reseat each connector before replacing parts. Confirm voltage at both ends of the circuit. Do not probe sealed connectors aggressively. An experienced technician can perform a voltage-drop test and trace a hidden break safely. I once blamed the camera itself too quickly; the real fault was a weak ground beside the hatch. The lesson is imperfect but useful: test the circuit before buying a replacement. NHTSA’s technical assessment also supports checking system performance during normal vehicle operation, not only in a stationary driveway.
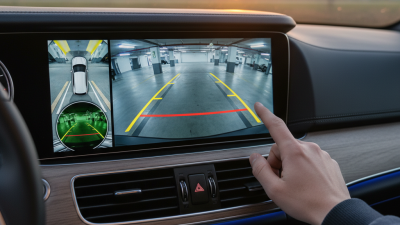
Why Is My Hidden Backup Camera Not Working?
A hidden backup camera can fail because its lens is blocked, tilted, or partly covered by trim. Inspect the lens closely under good light. Road dust, wax, rain droplets, and salt can create a blurred or dark image. A small spider web can also distort the view. Clean the lens with a soft microfiber cloth and mild automotive-safe cleaner. Avoid scraping it with a key or dry paper towel.
Mounting position matters just as much. The camera should face straight backward, not toward the pavement or sky. Check whether the housing has shifted after a trunk impact, panel repair, or repeated washing. The image should show a balanced view, with the vehicle edges appearing evenly on both sides. NHTSA’s Federal Motor Vehicle Safety Standard No. 111 requires rear visibility across a defined area behind the vehicle, including a 10-by-20-foot zone. A poorly aimed camera may not provide that coverage, even when the screen still works.
Tips: Sit in the driver’s seat and ask someone to place a small object behind the vehicle. Compare its real position with the screen image. Check again at night. A clean lens does not prove correct alignment. I have seen mounting angles look acceptable until tested on level ground. If the image remains tilted, inspect the bracket before replacing electronic parts. Misdiagnosis wastes time and money.
| Inspection Area | What to Check | Common Finding | Effect on Camera Image | Recommended Action | Verification Method |
|---|---|---|---|---|---|
| Camera Lens Surface | Look for dust, mud, road salt, water spots, wax, or fingerprints covering the lens. | Lens contamination | The image may appear cloudy, hazy, blurred, or low in contrast. | Clean the lens gently with a soft, lint-free cloth and a suitable automotive glass cleaner. Do not use abrasive materials. | Confirm that objects appear sharp and that the full viewing area is visible. |
| Moisture or Condensation | Inspect the lens cover and camera housing for fogging, droplets, cracks, or signs of water entry. | Moisture inside or around the camera | The display may show a foggy image, water streaks, intermittent video, or no usable picture. | Allow surface moisture to dry. If condensation remains inside the housing or returns after drying, inspect the seal and camera assembly. | Check the image after the vehicle and camera have dried completely. |
| Lens Cover Condition | Check for scratches, cracks, clouding, discoloration, or damage caused by impact or cleaning chemicals. | Damaged or degraded lens cover | Glare, distorted lines, permanent blur, or bright halos may appear, especially in sunlight or at night. | Replace the damaged camera or lens cover according to the vehicle’s service procedure. | Compare image clarity in daylight and low-light conditions after repair. |
| Mounting Position | Verify that the hidden camera is centered and positioned at the original height and angle. | Camera shifted, tilted, or partially covered | The view may point too high, too low, left, or right. Parking guide lines may not align with the vehicle path. | Secure the mounting bracket and reposition the camera to its intended orientation. Avoid covering the lens with trim or adhesive. | Check that the rear bumper area and the expected reversing path are clearly visible. |
| Trim and Mounting Hardware | Inspect nearby trim, clips, screws, brackets, and sealant for looseness or incorrect installation. | Loose bracket or obstructed lens | Vibration can cause a shaky image, while trim may block part of the picture. | Tighten or refit the hardware using the correct mounting points. Keep the lens opening unobstructed. | Apply gentle hand pressure near the camera and confirm that the image does not move or flicker. |
| Field of View | Inspect whether the camera view includes the ground behind the vehicle and the required side areas. | Incorrect viewing angle | The screen may work normally, but obstacles close to the bumper can remain outside the visible area. | Correct the camera angle or mounting position. Do not rely on guide lines if the physical view is incomplete. | Place a visible object at several distances behind the vehicle and confirm consistent coverage. |
| Reverse Gear Activation | Confirm that the display changes to the camera view when reverse gear is selected. | Camera view does not activate | The screen may remain on the previous menu, show a blank image, or display a “no signal” message. | After checking the lens and mount, inspect the vehicle’s reverse signal, fuse, wiring connections, and related settings. | Use the parking brake, keep the area clear, and verify activation with the ignition system operating normally. |
| Image Stability | Observe the image while the vehicle is stationary and while the camera housing is gently checked for movement. | Intermittent or vibrating image | The picture may flicker, cut out, shake, or change when the hatch or trunk is moved. | Inspect the camera connector, wiring near moving panels, ground connection, and mounting bracket. | Open and close the hatch or trunk carefully while monitoring whether the image remains stable. |
| Night Visibility | Check the image in low light and confirm that the area around the camera is not blocked by dirt or accessories. | Insufficient illumination or excessive glare | The image may be very dark, washed out, or affected by reflections from nearby lights. | Clean the lens, remove obstructions, and check the operation of the vehicle’s rear lighting and camera exposure system. | Test in a safe, dark location with the vehicle stationary and the surroundings free of pedestrians. |
| Final Safety Check | Confirm that the camera provides a clear, stable view and that no warning or obstruction remains. | Inspection incomplete | A camera may appear functional while still providing an inaccurate or limited view. | Use mirrors and direct observation in addition to the camera. Have a qualified technician inspect unresolved faults. | Verify the view before reversing and continue checking the surroundings manually. |
Safety reminder: A backup camera is an assistance system, not a substitute for mirrors, direct observation, or careful low-speed maneuvering. Always check the area around the vehicle before reversing.
A hidden backup camera can fail even when its lens looks clean. Start by testing the display. Turn the ignition on, engage the parking brake, and keep the vehicle in a safe, open area. Select reverse only when appropriate. Watch for a black screen, a blue screen, or a “no signal” message. Each result suggests a different problem. A black screen may indicate missing power, while a “no signal” message often points toward the camera or video cable.
Keep the test controlled. I usually inspect the screen brightness, contrast, and display mode before touching any wiring. A dim image can look like a dead camera, especially in daylight. Try another available video input if the system provides one. The picture may be routed to the wrong source after a battery change or electrical repair. It sounds simple.
If the display works, check the video signal. Inspect connectors for looseness, moisture, bent pins, or crushed cable sections near the hatch and hinges. A flickering image often indicates a weak connection rather than a failed camera. With a suitable meter, a qualified technician can verify power and ground at the camera. Do not guess from wire color alone. Some systems use separate trigger and signal circuits. I once replaced a camera too quickly, only to find an incorrect input setting. That mistake was avoidable. Recheck the settings, connector fit, and reverse-trigger response before buying parts.
Why Is My Hidden Backup Camera Not Working?
A hidden backup camera can fail even when its lens and wiring look perfect. The most common cause is a compatibility mismatch between the camera and display. Many systems use composite CVBS video, while newer units may require AHD, LVDS, or a digital interface. PAL and NTSC formats can also conflict, creating a black screen, rolling image, or distorted colors. Check the camera’s output format, resolution, connector pinout, and required voltage before replacing parts.
Signal quality matters too. A camera may receive power but still send a weak or incompatible signal. Inspect the ground connection near the display, not only beside the camera. Measure voltage while reverse gear is engaged, because a loose trigger wire can interrupt activation. The Insurance Institute for Highway Safety reports that rearview cameras can reduce blind zones by 90% or more, but coverage still depends on system design and installation quality (IIHS, “Rearview Cameras,” 2014). Better visibility is not guaranteed.
I have seen installers assume every four-pin connector is interchangeable. That assumption is often wrong. Some connectors carry video, power, ground, and trigger signals in different orders. NHTSA’s rear visibility standard defines a required viewing area of 10 feet by 20 feet behind a vehicle, showing why camera angle and image format both matter (NHTSA, Federal Motor Vehicle Safety Standard 111). Test with a known-compatible monitor when possible. An imperfect diagnosis can waste hours. Recheck the basics.
Why Is My Hidden Backup Camera Not Working?
Repair, Replace, or Professionally Diagnose the Camera System
A hidden backup camera may fail because of a dirty lens, loose connector, damaged wiring, or a weak power supply. Check the lens first. Road dust can create a gray, blurry image that resembles a serious electronic fault. Turn on the vehicle’s reverse function and watch for flickering, a black screen, or warning messages. Avoid pushing tools into the camera housing, because small clips and seals break easily.
Repair is sensible when the wiring, connector, or mounting bracket is damaged. A technician can test voltage at the camera and check the video signal with proper equipment. Replacing the camera may be better when moisture appears behind the lens or the image remains distorted after cleaning. In workshop inspections, corrosion near the connector has often caused intermittent faults. It is easy to blame the camera too soon.
Professional diagnosis matters when the display, control module, and camera share the same fault. A qualified technician should inspect the complete circuit, not just install a new camera. I have seen replacement parts fail to solve the problem because a crushed wire was hidden beneath interior trim. That mistake wastes money. Diagnosis takes patience. Sometimes the original camera is still usable, but the system needs calibration after repair. Always verify the view in daylight and darkness before relying on it during reversing.
Use these reference electrical checks to decide whether the camera system needs a repair, replacement, or professional diagnosis.
A typical 12-volt vehicle should provide approximately 11.5–14.5 volts at the camera power and reverse-trigger circuits. Voltage drop on the ground circuit should generally remain at or below 0.2 volts under load. Readings outside these reference ranges may indicate a fuse, wiring, connector, ground, or reverse-signal fault. Always confirm specifications in the vehicle service manual before replacing the camera.