Top Auto Rear View Camera Systems for Cars?
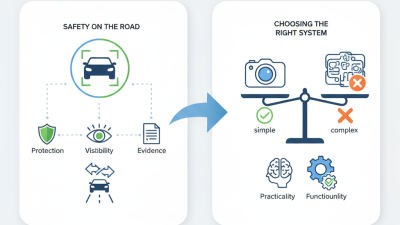
Choosing an Auto Rear View Camera System is not just about finding the sharpest picture. It is about seeing useful detail when reversing, parking, or checking a narrow driveway. A bright screen can still disappoint if glare washes out the image or the camera misses nearby obstacles.
IIHS Chief Research Officer David Zuby has discussed the value of technologies that help drivers detect hazards. A practical takeaway from that safety perspective is simple: “A camera can improve visibility, but it cannot replace an attentive driver.” This is a summary, not a verbatim quotation. Keep that distinction in mind when comparing product claims.
The right system should fit your vehicle, display, and daily driving conditions. Some models offer a wide viewing angle, while others add night vision, parking guidelines, or a larger monitor. Those extras can help, but they are not automatically better. A distorted image or confusing guide lines may create doubt at the worst moment.
Small details matter. Check whether the camera handles rain, whether the screen is readable in afternoon sunlight, and whether installation suits your car. A clean image at noon is not enough. We will compare leading systems by visibility, ease of use, durability, and practical value, while noting where specifications leave questions unanswered. No system is perfect, and the most expensive option may not be the clearest one for your vehicle.
How Automotive Rear-View Camera Systems Work
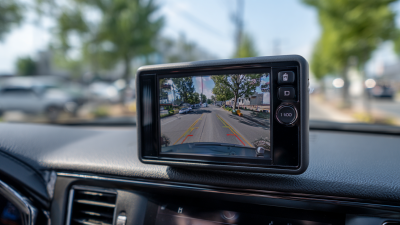
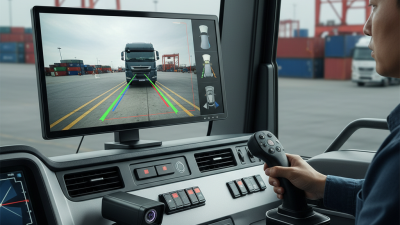
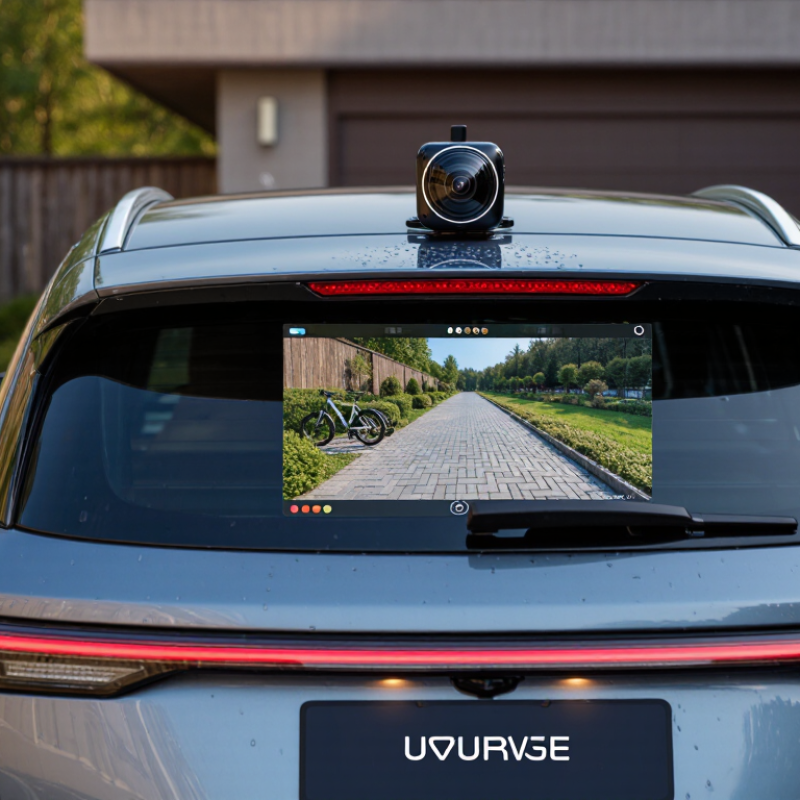
A rear-view camera system turns a small lens near the back of a car into a live view on the dashboard screen. When reverse is selected, the camera sends video signals to the display. Some systems add guide lines that bend with the steering wheel, helping drivers judge where the car may travel. The view is useful, but it is not a perfect map.
The lens captures a wide area, which can make nearby objects look farther away or slightly curved. A low curb may appear as a thin stripe, while a child’s ball can sit close to the bumper yet seem small on screen. Rain, dust, or a smear of road salt can blur the picture. A quick wipe often helps. Not always.
The screen, wiring, camera, and vehicle settings must work together for a clear image. After repairs or camera movement, guide lines may no longer match the car’s path, so calibration can matter. Drivers should still check mirrors, look around, and move slowly. The display can reveal a low obstacle that mirrors miss, but it cannot show every angle. That limitation is easy to forget when the image looks crisp.
Types of Rear-View Camera Systems for Cars
Types of Rear-View Camera Systems for Cars
Rear-view camera systems vary in how they send and display an image. A wired system connects the rear camera to a dashboard screen through a cable. It usually provides a steady signal, but installation may require routing wires through trim panels and the cabin. This can take time, and poor cable placement may cause rattles.
Wireless systems transmit video to a receiver near the display. They can simplify installation, though signal interference may cause occasional delay or a brief drop in picture quality. Not magic. Mirror-integrated systems replace or overlay the image in the rear-view mirror, keeping the screen close to a driver’s normal sightline. A separate monitor offers a larger image, but can crowd the dashboard.
Some setups use the vehicle’s existing display, while multi-camera systems add side views for a wider picture. More angles can help when reversing into a narrow garage, but extra cameras need careful positioning and calibration. Check that the image appears promptly when reverse is selected. A camera supplements mirrors, not replaces them. Rain, road dust, and a low evening sun can obscure the view; even a small smear on the lens matters. The guide lines may also differ from the car’s actual turning path.
Key Features That Distinguish Leading Camera Systems
A strong rear-view camera system does more than show what sits directly behind the car. Look for a clear image with enough detail to distinguish a child’s small bicycle from a dark patch of pavement. Resolution matters, but so does performance in dim garages and rainy afternoon light. A bright screen can help, yet glare may wash out the picture. Check whether brightness is adjustable and whether the display is easy to glance at without losing attention from the road. A simple interface often works best.
Viewing angle is another key difference. A wider lens can reveal approaching traffic near the driveway, but it may make nearby objects look farther away. That trade-off is easy to miss. Test the camera against a curb or parking-space line, if possible. Responsive image transmission also matters; even a brief delay can make reversing feel less natural. Useful guide lines should align with the vehicle’s path, not merely appear on screen. Weather-resistant housing, secure wiring, and compatibility with the car’s display can affect everyday reliability. Installation and calibration deserve attention, too. Specifications look convincing on paper, but real visibility varies with mounting position and vehicle shape.
Top Auto Rear-View Camera Systems for Cars: Key Features That Distinguish Them
U.S. FMVSS No. 111 specifies a rear visibility zone at least 10 feet wide and 20 feet long. The chart shows those minimum zone dimensions; the standard also requires the rearview image to appear within 2 seconds of activation.
These are regulatory visibility-zone dimensions, not a comparison of individual products. Actual camera performance and features vary by system.
How to Compare Systems for Different Vehicles and Needs
A rear-view camera should fit the vehicle, not just the budget.
A compact car may need a wide viewing angle to reveal low obstacles near its bumper. A pickup often has a higher tailgate, so camera height and downward tilt matter more. Check whether the image shows the bumper edge without hiding nearby objects.
Small details matter.
Match the system to how and where you drive.
For frequent night parking, compare low-light performance using sample footage, not resolution numbers alone. In rain or road spray, look for clear lens protection and documented water resistance. A wired setup can provide a steady signal, while wireless models may simplify installation but deserve careful checks for delay or interference.
Test at dusk.
If you tow, confirm whether the system supports an additional rear-facing camera and can switch views easily.
Screen placement also changes usability.
A dashboard display may be easier to glance at, while a mirror-style screen can preserve a familiar sightline. Check compatibility with your vehicle’s power supply, existing display, and mounting points before buying. During installation, verify the view from the driver’s seat and test it in a quiet parking area.
I would not trust any camera as a substitute for mirrors or a shoulder check;
close objects can appear farther away than they are. Even a useful system can take time to judge accurately.
Installation, Calibration, and Ongoing Maintenance
A dependable rear-view camera starts with careful placement, not a complicated display. Mount it near the vehicle’s centerline, where the view is clear and the bracket cannot flex. Before drilling, check the inside of the panel for wiring and moving parts. Route the cable away from sharp edges, hot surfaces, and hinges. Use a grommet where it passes through metal, and seal the opening against water. Small details matter.
Calibration should happen on level ground, with the vehicle loaded as it is usually driven. Aim the camera so the horizon looks level and the bumper edge sits consistently in view. Check the image using a person or object at several measured distances. If parking guidelines appear, confirm they track the vehicle’s actual path while steering slowly. A neat installation can still give a misleading view. Even careful work may leave a slightly crooked horizon; it is annoying to notice later, but worth correcting.
Keep the lens clean with a soft microfiber cloth and mild cleaner. Avoid abrasive pads, which can scratch its cover. After a car wash, body repair, or a hard bump, inspect the mount and cable for looseness or damage. Fogging, flickering, or a sudden change in image angle can point to moisture or a poor connection. The camera helps with visibility, but it does not show every obstacle. Check mirrors and look around before moving.